

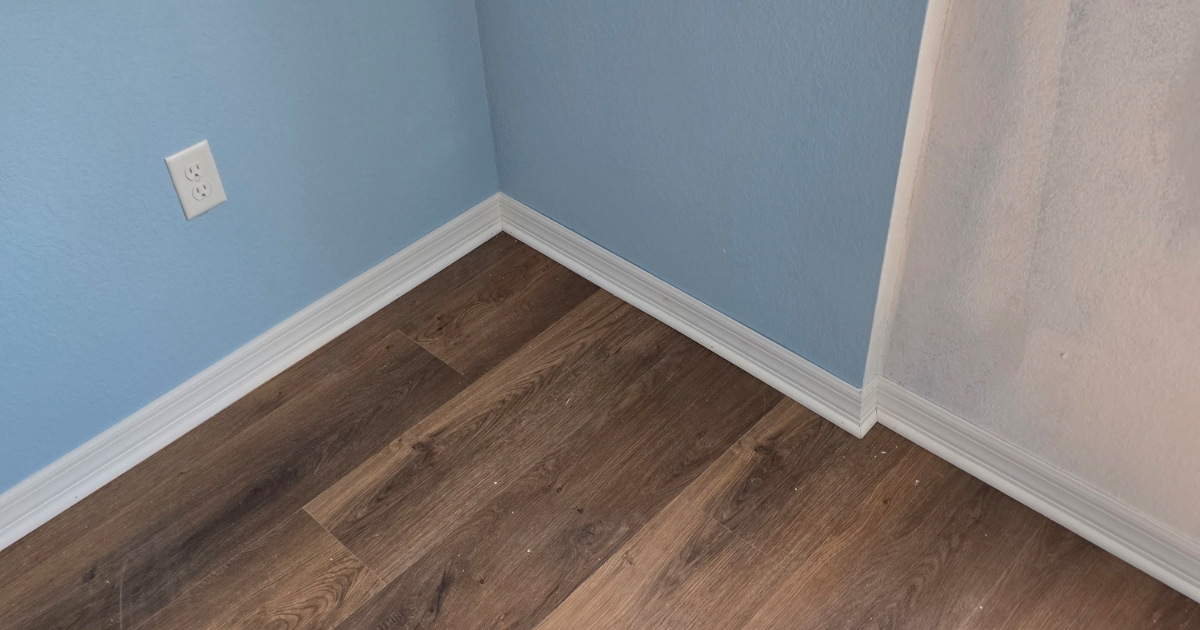
Trim damage is one of the most common things homeowners find when they open a house that sat closed up through a Florida summer, and replacing water-stained baseboards is often the fix that gets a room looking right again. When a house stays shut with the thermostat set high and nobody inside to notice a slow leak or a damp corner, moisture settles low and goes to work on the bottom few inches of your walls. Now that you’re back for the season, this is a good time to walk the baseboards and door casings before you start hanging pictures and setting up for company.
Walk the Low Edges First
Get down where the trim meets the floor and look at the bottom edge, not the face. That bottom inch is where water collects and where paint will crack, bubble, or come loose first. Run your eye along the whole run instead of spot-checking, because damage usually shows up in a stretch rather than one small place.
Pay the most attention to the rooms that give moisture somewhere to hide. Behind the toilet, under the kitchen sink cabinet, along the wall the washing machine backs up to, the inside of exterior walls, and the base of door casings leading to the garage or lanai. If you had any roof or window leak during storm season, look at the baseboard on that wall even if the drywall above it looks fine — water travels down inside the wall and ends up in the trim.
Know What You’re Looking At
Most baseboard and casing in this area is MDF or finger-jointed pine, and both of them tell on themselves when they get wet. MDF swells and the bottom edge puffs out thicker than the rest of the board, sometimes with a fuzzy or crumbly feel. Pine cups, so the face bows out or pulls away from the wall and the paint splits along the grain.
A brown or tan stain bleeding up from the floor line means water sat there long enough to soak in, and that stain will come back through fresh paint if you just roll over it. Press a thumbnail into the bottom edge. If it dents easily or feels spongy, the board is done and no amount of caulk and paint is going to fix it.
Find the Water Before You Replace Anything
New trim installed over an ongoing moisture problem will look great for a few months and then do the same thing all over again. So before you replace, figure out where the water came from. A supply line drip, a toilet that weeps at the base, a slow leak under a sink, a lanai door that lets rain blow in, condensation from a vent running against an uninsulated wall — any of these will keep going after the trim is new.
If the cause is plumbing or your air conditioning, get that handled by the right trade first. Once the source is dry and fixed, the trim work makes sense and will last.
Replacing Water-Stained Baseboards the Right Way
Replacement means pulling the full damaged run, not cutting out a short piece and splicing in a patch. A patch in the middle of a wall shows, especially in the long sightlines a lot of homes here have between the kitchen and the living area. Pulling the whole run from corner to corner gives you a clean, continuous line.
Removing trim carefully matters more than people expect. Baseboard that’s been nailed and caulked for fifteen years does not want to come off the wall, and pulling it fast tears the drywall paper behind it. Trim comes off with the drywall kept intact, and any paper that does lift gets skimmed and sanded smooth so the new board sits flat and tight.
Then the new trim goes in. Where the damage came from a wet area, PVC or another moisture-tolerant trim is worth asking about — it won’t swell or wick water the way MDF does, and it takes paint just fine. The profile gets matched to the existing trim in the rest of the house so the new run doesn’t read as a repair. Door casings that swelled at the bottom get the same treatment, since replacing the baseboard and leaving a blown-out casing leg next to it defeats the purpose.
Caulk and Paint Make It Disappear
The difference between trim that looks replaced and trim that looks original is almost all in the finish work. New baseboard gets caulked along the top edge and at the inside corners, nail holes get filled and sanded, and the whole run gets primed and painted.
If the old stain came from a leak, ask for a stain-blocking primer so nothing bleeds through later. Expect the paint to be matched to the rest of the room’s trim — a slightly different white on one wall is the kind of thing you’ll notice every day once you see it. On a long wall, carrying the paint to the natural stopping point keeps the sheen consistent instead of leaving a visible break mid-run.
What Else to Check While You’re Down There
Since you’re already looking low, check a few related things. Interior doors that stick or drag at the bottom may have swollen in the humidity, and the casing and jamb may need attention. Look for drywall that feels soft about a foot up from the floor, which means water got higher than the trim. Check whether the flooring itself lifted or separated at the edges near the wet area, and look at the base trim in closets and the garage, which are easy to skip and often the dampest spots in the house.
When to Bring In a Professional
A single short run in a guest room is a reasonable weekend project if you have a miter saw and patience. It’s worth calling for help when the damage runs through several rooms, when the drywall behind the trim needs repair, when the room has long uninterrupted runs or tricky corners that have to come out right, or when matching an older trim profile is part of the job.
If you came back this season to swollen, stained baseboards and would rather have it handled, give Thomas’s Handyman Service a call at (352) 234-4248. A quick look at the rooms in question is enough to tell you what needs replacing and what can stay, and you’ll get a straight answer either way.
Leave a Reply